Upturned Eyes vs Downturned Eyes: How to Tell the Difference
Compare upturned, downturned, and neutral eye orientation using clear corner landmarks, photo checks, asymmetry tips, and styling options.
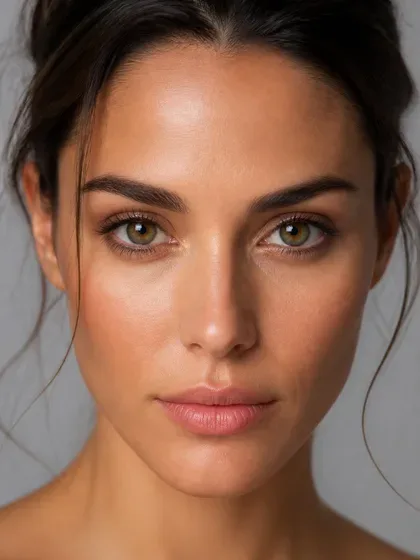
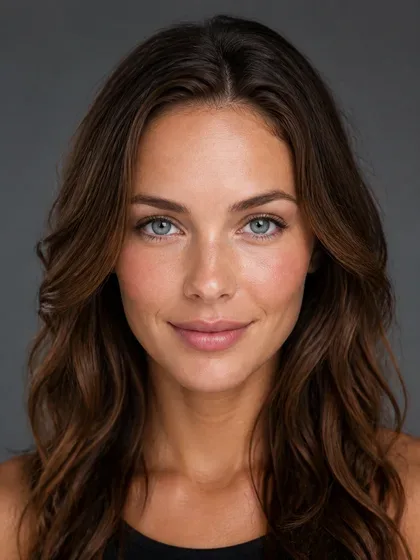
Upturned eyes have outer corners that sit higher than the inner corners, while downturned eyes have outer corners that sit lower. If the corners are approximately level, your eye orientation is neutral. Your two eyes do not have to match exactly.
The key is to compare the actual eye corners, not the eyebrows, eyelashes, or eyeliner. A relaxed mirror view and a straight-on photograph can help you distinguish your usual eye orientation from an effect created by pose or expression.
Upturned, downturned, and neutral eyes at a glance
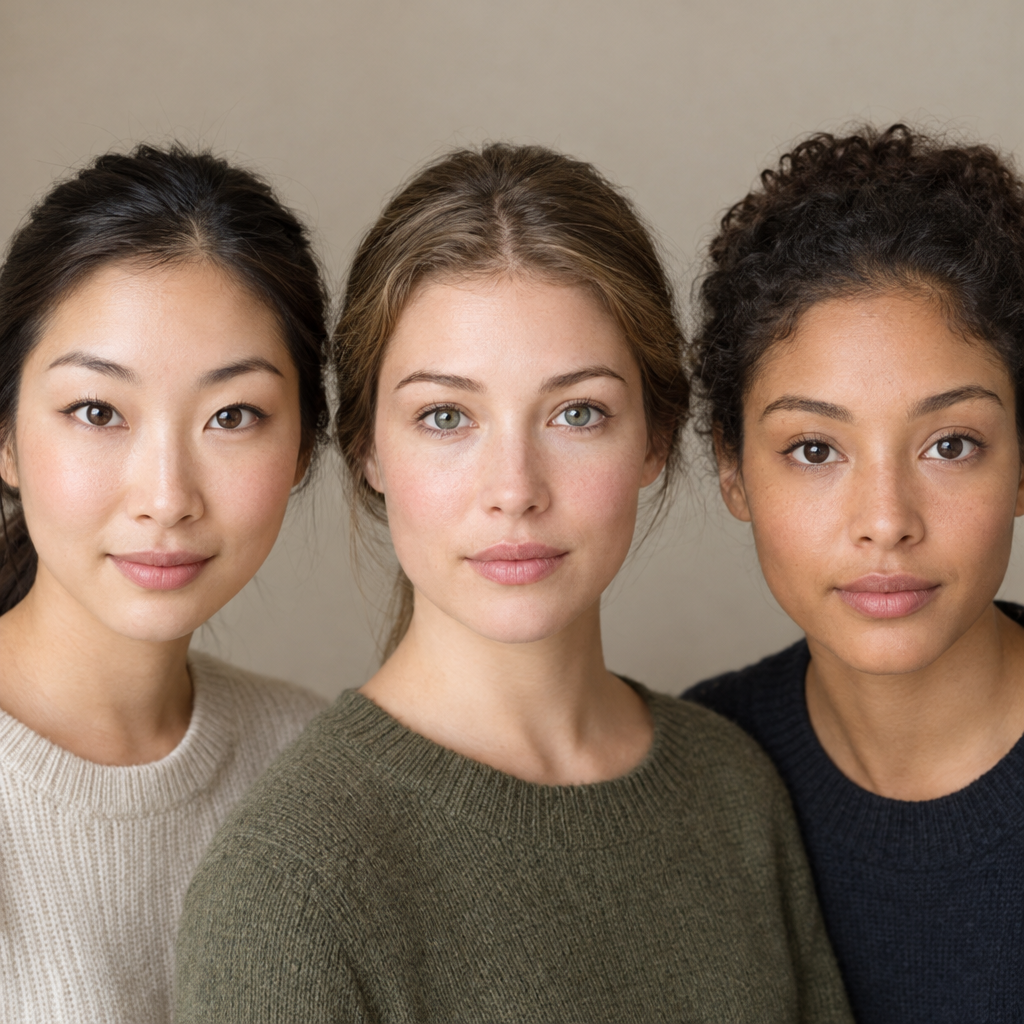
These labels describe the direction between the inner and outer corners of each eye.
| Orientation | Outer-corner position | Main visual cue |
|---|---|---|
| Upturned | Higher than inner corner | Corner-to-corner line slopes upward |
| Downturned | Lower than inner corner | Corner-to-corner line slopes downward |
| Neutral | Approximately level with inner corner | Corner-to-corner line looks horizontal |
Look at the corner points rather than the overall impression of “lift.” An arched eyebrow, curled outer lashes, or upward eyeliner wing can suggest an upward direction even when the eye corners are level. Eyelid folds can also obscure the outline.
Eye orientation is a descriptive feature. It does not determine attractiveness, personality, ethnicity, health, or worth.
How to check your eye orientation using the correct corners
Use this two-observation self-check before settling on a description.
1. Find the two corner landmarks
The inner canthus and outer canthus are the points where the upper and lower eyelids meet:
- Inner canthus: The corner nearest your nose.
- Outer canthus: The corner nearest your temple.
Identify the meeting point of the lids, not the tip of a lash or the end of your makeup. Do not use eyebrow angle, winged liner, lash direction, or the eyelid crease as substitutes.
2. Compare their height in a mirror
Face the mirror with your head level, eyes looking straight ahead, and brows relaxed. Avoid lifting your forehead, widening your eyes, or squinting. Soft light from in front of you makes the corners easier to see.
Imagine a horizontal line extending outward from the inner corner:
- Outer corner above the line: Upturned.
- Outer corner below the line: Downturned.
- Outer corner approximately on the line: Neutral.
Check each eye separately. You do not need to calculate an angle or assign meaning to a barely visible difference.
3. Compare with a straight-on photograph
Take one photograph with the camera centered at eye level and your head upright. Avoid beauty filters and, where practical, remove makeup that extends beyond the corners. Keep enough distance that you are not taking an extreme close-up selfie. You can crop the image afterward if needed.
Repeat the same corner comparison in the image.
If the mirror and photograph agree, use that description. If they disagree, treat the result as uncertain. A slight orientation can be difficult to distinguish from small changes in pose. “Approximately neutral” or “unclear in this photo” is more useful than a forced label.
For an additional photo-based estimate, the Canthal Tilt Test offers visual analysis of eye-corner direction. Compare its estimated result with your direct observations rather than treating it as definitive. Pose, expression, lighting, and image quality can affect the result.
Eye orientation is only one part of your eye shape
Corner direction does not describe everything about an eye. Your overall eye shape includes other visible characteristics, such as the eye opening and eyelid structure. Other labels refer to different features:
- Almond or round: The outline of the visible eye opening.
- Hooded: Upper-lid skin partly covers the crease or visible lid.
- Monolid: The upper lid does not have a clearly visible crease.
- Deep-set or prominent: How the eyes sit relative to the surrounding eye socket.
These descriptions can coexist. A person does not need to choose one exclusive category. The Types of Eyes guide explains how outline, eyelid structure, corner direction, depth, and spacing combine. If socket depth and lid folds are difficult to separate, see the comparison of hooded eyes and deep-set eyes.
| Feature combination | Corner direction | Separate feature |
|---|---|---|
| Upturned + hooded | Outer corner higher | Fold covers some upper lid |
| Downturned + round | Outer corner lower | Rounded eye opening |
| Neutral + deep-set | Corners approximately level | Eye sits farther back |
| Upturned + almond-shaped | Outer corner higher | Elongated, tapered opening |
For example, an eye can have an upward corner angle while a fold conceals much of the upper lid. The fold does not cancel out the orientation.
Likewise, upturned eyes are not always almond-shaped, and downturned eyes can also be hooded. Check the corner direction separately from the opening, crease, and depth.
Why your eye tilt can look different across photos
A photograph records your features from one viewpoint at one moment. It can change the apparent outline without representing a lasting change in your eyes.
Before interpreting a difference, check these factors:
- Head roll: Tilting your head toward one shoulder raises one side of your face. Comparing the corners against the photograph’s horizontal edge can then make the two eyes appear to angle differently.
- Camera height: A camera above or below eye level changes the view of the lids and can alter the apparent eye contour.
- Smiling or squinting: These expressions can lift or compress tissue around the outer corners and narrow the visible opening.
- Close, off-center framing: Wide-angle selfies taken at close range exaggerate perspective differences. The nearer eye may look different from the farther one.
- Uneven lighting: Side lighting can obscure a corner or deepen nearby shadows, changing where the visible outline seems to end.
- Makeup and lashes: Winged liner, eyeshadow, and false lashes extend the visual edge beyond the actual corner.
For a useful comparison, use a level head, eye-level centered camera, relaxed expression, and soft frontal light. Compare similar views rather than a smiling selfie with a neutral portrait.
If the corners remain difficult to locate, do not keep enlarging a blurry image. More magnification does not restore missing detail.
What if your two eyes do not match exactly?
Assess each eye first, then describe the overall pattern. Do not average two different results into one definitive label.
Use this decision framework:
- Both angle upward, but one more strongly: “Upturned, with a slight left-to-right difference.”
- Both angle downward, but one more strongly: “Downturned, with mild asymmetry.”
- One is neutral and the other slightly angled: Describe each separately, such as “left neutral, right slightly upturned.”
- One angles upward and the other downward: “Mixed orientation,” provided the difference remains visible with your head level.
- The pattern changes between views: Keep the description uncertain rather than assigning a fixed category.
Be careful when naming left and right from a photograph. In an unmirrored frontal portrait, your anatomical left eye normally appears on the viewer’s right. In a mirrored selfie or mirror view, your anatomical left eye appears on the viewer’s left.
Horizontal mirroring swaps the displayed sides, but it does not change the classification of an eye. An upturned eye remains upturned because its outer corner is still higher than its inner corner. The same principle applies to downturned and neutral eyes. Mirroring affects which displayed eye you call left or right, not whether that eye angles upward or downward.
Minor left-to-right differences are common and do not need correction. Avoid repeatedly measuring tiny differences that shift with expression or photographs. If you’re curious about visible differences between the two sides of your face, Facefy’s Symmetry Checker offers a photo-based facial symmetry assessment. Its results are estimates influenced by lighting, camera angle, and expression, rather than precise measurements of individual eye-corner angles.
A new or pronounced change in one eyelid or eye area should be discussed with a qualified healthcare professional, not interpreted through appearance analysis. Seek prompt medical care for a sudden change, especially if it comes with pain, double vision, or other vision changes.
Eyeliner and eyeshadow choices based on the effect you want
You can emphasize your natural direction, create a different visual line, or keep the outer edge understated. These are styling options, not corrections.
| Desired effect | Liner approach | Shadow approach |
|---|---|---|
| Emphasize lift | Extend slightly upward | Blend outer edge upward |
| Preserve natural direction | Follow the outer corner | Follow the existing contour |
| Reduce angle emphasis | Keep outer liner short | Diffuse the outer edge |
| Emphasize length | Extend more horizontally | Blend softly outward |
To emphasize an upward direction
Add a short upward flick rather than immediately drawing a long wing. Check it with your face relaxed, then extend it only if you want more emphasis.
You can use this approach with upturned, neutral, or downturned eyes. It changes the direction suggested by the makeup, not the position of the corners.
To follow your natural direction
Keep the liner close to the upper lash line and let its endpoint follow the existing outer corner. Avoid automatically redirecting the line upward if your aim is to define the shape you already have.
To soften the outer angle
Use a small brush to diffuse pencil or shadow at the outer edge instead of creating a sharply pointed wing. A softer boundary draws less attention to the precise corner angle.
To create length without a strong lift
Extend a short line more horizontally toward the temple. Keep it subtle at first, since a longer extension may cross an eyelid fold or look different when you blink.
For every approach, check placement with your eyes open and brows relaxed. A fold or hood can conceal part of a line that looks continuous with the eye closed. Small adjustments made in your normal expression are more useful than judging only a dramatic, eyes-closed result.
Common questions about upturned and downturned eyes
Does smiling change the result?
Smiling can lift or compress the outer-eye area and change the visible opening. Use a relaxed expression when describing your usual orientation.
Why do my eyes look downturned in some photos?
Head position, camera height, close-range perspective, expression, lighting, lashes, and makeup can all influence the impression. Compare the actual corners in a centered, eye-level image rather than judging the overall outline alone.
What is the difference between eye shape and eye tilt?
Eye shape is a broad description that can include the opening and eyelid structure. Eye tilt specifically describes the direction from the inner corner to the outer corner. An eye can be round and downturned, or hooded and upturned.
Can an image-based tool settle the result?
It can provide an estimated visual analysis, but it cannot remove the limitations of the photograph. If the estimate conflicts with a relaxed mirror view, keep the result uncertain. The most useful description is one that reflects what you can consistently observe, not the most precise-looking number.