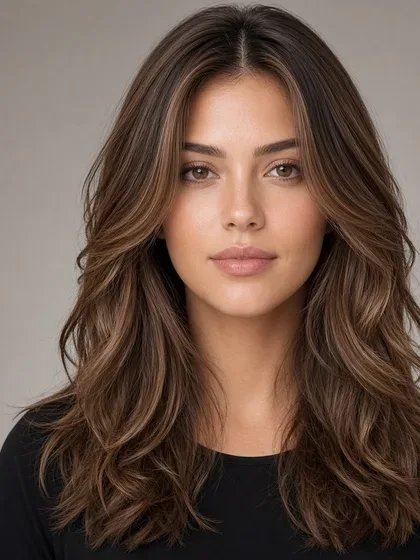
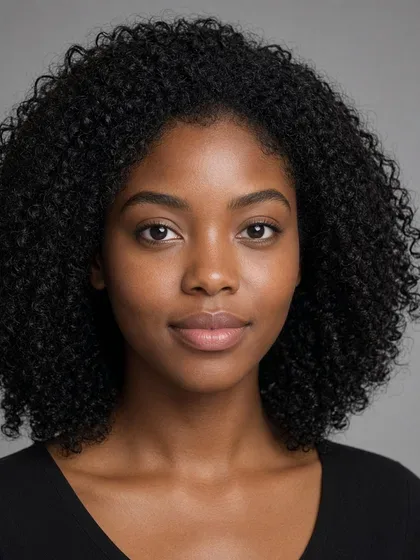
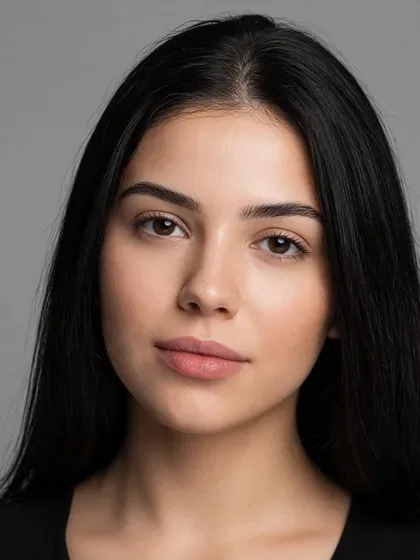
Mod Cut: Variations, Barber Instructions, Styling, and Upkeep
Learn what defines a mod cut, compare key variations, and get clear barber instructions, texture tips, styling steps, and upkeep advice.
A mod cut is a medium-length, layered cut inspired by 1960s styles. Its recognizable features usually include a prominent fringe, a rounded or softly shaped outline, fuller sides, and visible length around the ears and nape.
The name describes a family of styles, not one fixed shape. Modern versions can be neat and sculpted, short and textured, or loose and shaggy. To get the version you want, specify the fringe, side fullness, ear coverage, and neckline rather than relying on “mod cut” alone.
What makes a cut a mod cut?
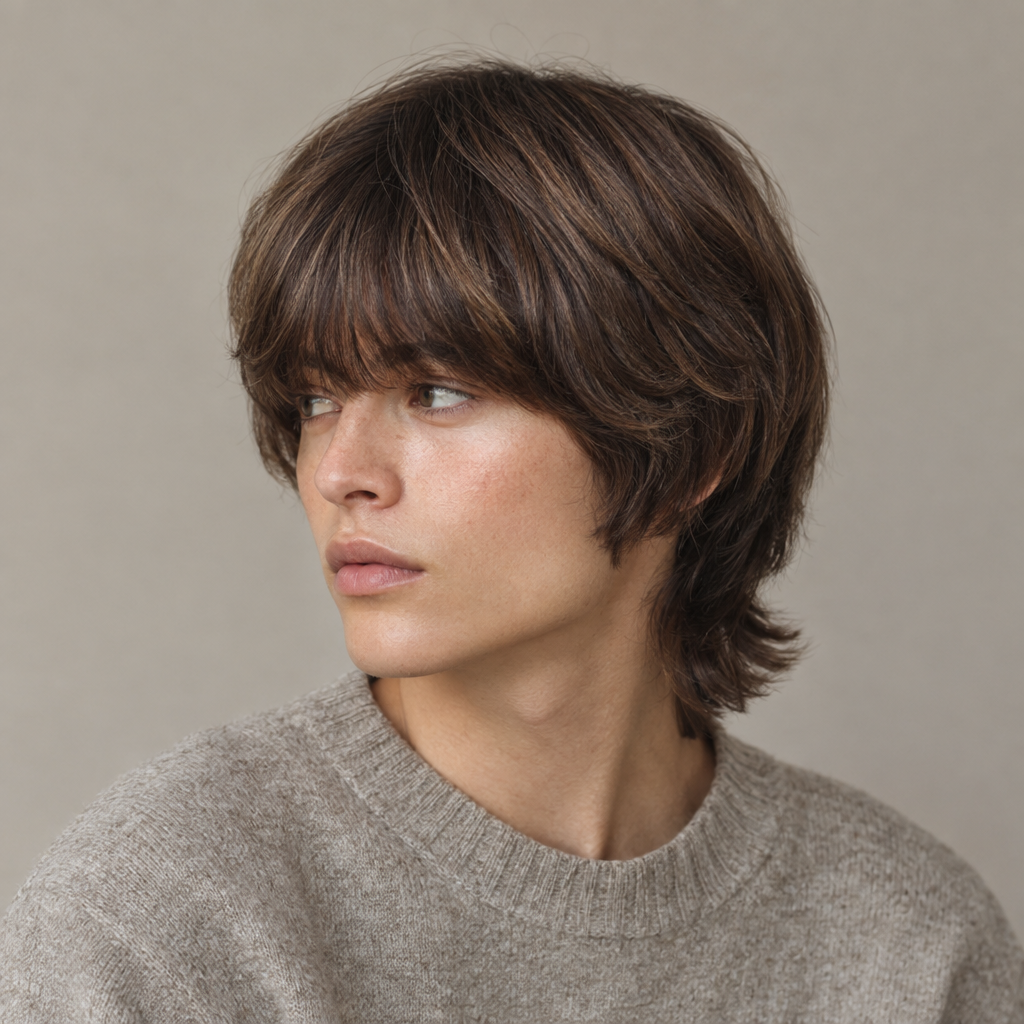
The strongest connection to 1960s mod styling is the rounded outline and forward-directed fringe. Contemporary interpretations often loosen that structure with separated pieces, softer edges, or more movement through the back.
What connects these versions is their distribution of weight. The fringe remains noticeable, the sides contribute to the silhouette, and the crown connects to the surrounding layers. Close-clipped sides are not a defining requirement.
A mod cut is not restricted to a particular gender or facial outline. The useful question is whether its coverage, volume, and styling requirements match your preferences and how your hair naturally falls.
The five zones that create the mod silhouette
Use these five areas to describe your preferred version. Each has a typical feature, but none requires an identical finish on every head.
-
Fringe
- Typical: A substantial fringe falling around brow-to-eye level.
- Optional: A shorter edge, an irregular finish, or a split front. Eye level is a visual reference, not a reason to accept hair obstructing your sight.
-
Temples and sides
- Typical: Retained fullness that supports the rounded outline.
- Optional: Tighter scissor work or a subtle taper at the edges. A skin fade is not automatic and creates a different contrast.
-
Crown
- Typical: Connected layers with enough weight to join the top and sides.
- Optional: Extra lift, visible separation, or a flatter finish. The choice depends partly on natural growth direction.
-
Around the ears
- Typical: Hair skimming the ears or covering them partly.
- Optional: Fully covered ears for a longer version, or exposed ears for a shorter interpretation.
-
Nape
- Typical: Some retained length with a soft neckline.
- Optional: A cleaner, shorter finish or a longer, looser back, provided it fits the rest of the shape.
Mod cut variations, from neat to shaggy
Choose your finish and coverage separately. A short version can be textured, while a longer version can still look controlled.
| Variation | Defining features | Styling commitment | How growth changes it |
|---|---|---|---|
| Neat mod cut | Rounded outline, smooth surface, deliberate fringe, controlled sides | Usually needs directional drying | Fringe, ear outline, and neckline lose definition relatively quickly |
| Textured mod cut | Separated surface with enough perimeter weight to retain fullness | Light product can help define individual pieces | Separation becomes looser as the crown and sides gain weight |
| Shaggy mod cut | Softer edges, relaxed crown, longer movement through the nape | Often works with natural movement | Crown and nape lengthen while the already soft edges become less clearly defined |
| Short mod cut | Reduced ear and nape coverage with a noticeable fringe | Depends on how precise the edge is | Ear coverage and side bulk become more apparent as it grows |
| Long mod cut | Greater ear coverage, a longer back, and more movement | May need shaping to control dense hair | The sides and nape can feel heavy if the layers are not refreshed |
The more precise the outline, the sooner small changes in length become noticeable. A deliberately loose version usually tolerates more growth before its overall character changes.
Mod cut vs. mop top, shag, wolf cut, and bowl cut
These names overlap between salons and reference photos. Compare the visible structure rather than assuming every barber or stylist uses the same definition.
| Cut | Fringe shape | Location of volume | Ear coverage | Degree of layering |
|---|---|---|---|---|
| Mod cut | Prominent, rounded, separated, or softly split | Crown and fuller sides | Exposed, skimmed, or covered depending on length | Moderate, connected, and adaptable |
| Mop top | Full, forward, and usually rounded | Distributed evenly through the top and sides | Often partial or full | Usually subtle, with a fairly uniform fall |
| Shag | Broken, wispy, or curtain-like | Crown and upper sides, with movement through the perimeter | Variable and often loosely covered | Pronounced throughout |
| Wolf cut | Variable, often split or visibly textured | Concentrated at the crown, with lighter lower lengths | Can be exposed or covered; modern versions vary widely | Strong, with noticeable contrast between crown and perimeter |
| Bowl cut | Usually blunt and visually continuous | A defined band around the head | Commonly exposed or partly covered, although longer versions may cover the upper ear | Often minimal, with a strong weight line |
A mop top generally has a more uniform rounded fall. A mod cut allows greater variation in layering and edge texture while retaining side fullness.
A shag has more obvious all-over layering and a broken outline. Some versions use long layers to create movement below the crown, while a mod cut usually keeps the top, sides, and fringe more visually connected.
A wolf cut normally pushes the contrast further, with a fuller crown and lighter lower lengths. A bowl cut emphasizes a more continuous weight line around the head, although contemporary bowl cuts may use texture to soften that line.
A curtain cut is different because the name often describes the parting and front placement more than the complete silhouette. A mod-inspired shape can include a split fringe while preserving fuller sides and a connected crown.
Will a mod cut work with your hair?
Start with clean, naturally dried hair before applying a strong styling product. Notice where the front rests, whether the sides expand or lie close, and whether the crown separates.
Adjust the shape to your texture
Straight hair: The rounded outline and fringe edge tend to read clearly. Fine, straight strands may need directional drying for lift. Dense, straight hair can require selective weight removal to prevent the outline from becoming overly solid.
Naturally wavy hair: Movement can soften the silhouette without much effort. The front may bend upward or separate as it dries, so leave room for that movement rather than choosing its length from a stretched section.
Curly or coily hair: Expect a more sculptural interpretation rather than an exact copy of a smooth reference. Choose fringe and ear coverage according to where the hair rests naturally, not how far it reaches under tension. Facefy’s Hairstyle Finder can help you compare different shapes before discussing the practical cut with your stylist.
Different areas of curly and coily hair may contract by different amounts. The fringe should therefore be assessed in its natural dry state. This does not mean every section must be cut dry. It means the finished resting position needs to guide the length decision.
Check density, growth direction, and starting length
Dense hair may need internal weight management, but aggressive thinning can remove the side fullness that makes the shape work. Fine or lower-density hair often benefits from fewer, more connected layers and a substantial perimeter.
A strong growth swirl, persistent natural part, or cowlick can affect how the fringe and crown settle. Previous short layers and chemical processing can also change what is achievable at the first appointment. Point out these factors during the consultation instead of assuming the reference shape will fall into place by itself.
There is no universal minimum length. You need enough hair in the specific zones you want to retain. An eyebrow-length front cannot create an eye-length fringe immediately, and recently clipped sides may need time to develop ear coverage.
A quick decision framework
Before choosing a reference, answer these questions:
- Forehead: Do you want a full fringe, a partly open front, or a shorter edge?
- Ears: Should the hair skim the tops, cover half, or leave them exposed?
- Back: Do you prefer a soft neckline or more noticeable length at the nape?
- Routine: Will you use a dryer most mornings, or do you want a shape that follows natural movement?
- Starting point: Does your current haircut leave enough length in all five zones?
- Overall outline: Is your priority side fullness, crown volume, or a balanced amount of both?
If your reference requires several choices you would not make for yourself, look for another interpretation rather than trying to reproduce it exactly.
Face shape can be one styling consideration, but it should not become a rigid rule. Fringe openness, side width, and total length can all be adjusted without claiming that one version is correct for a particular facial outline.
How a hairstyle preview can help compare versions
A visual preview can help you compare structural choices such as a shorter fringe versus a longer one, exposed ears versus partial coverage, or controlled sides versus a looser outline.
Change one feature at a time where possible. If fringe length, texture, color, and side volume all change together, it becomes harder to identify what you actually prefer. Consider haircut structure separately from broader hair color ideas so color contrast does not distract from the outline.
Generated previews are estimates. They may smooth over natural growth patterns, alter apparent density, or show movement your hair would not produce. Lighting, crop, head position, and image quality can also change the impression. Use a preview as a discussion aid, not a prediction of the finished result.
What to ask your barber or stylist for
Use this request as a starting point, replacing the bracketed choices:
“I want a mod-inspired layered cut with a substantial fringe. Use brow-to-eye length as a flexible starting checkpoint, but choose the dry endpoint according to my natural movement, shrinkage, and comfortable visibility. Keep the sides fuller rather than adding an automatic skin fade, and connect the layers through the crown. Leave my ears [exposed, partly covered, or fully covered]. Keep the nape [short and softly finished, at my natural neckline, or extending toward my collar]. I want the finish [smooth and rounded, softly textured, or loose and shaggy].”
Show exactly where you want the fringe to rest and explain how you normally part it. If you want face framing around the temples or cheek area, describe where those shorter pieces should finish rather than using the term alone.
Then ask three specific questions:
- “Will this fringe settle here without daily straightening or blow-drying?”
- “How much weight would you remove, and will that change the fullness at the sides?”
- “Can you show me where the ear coverage and nape will finish when dry?”
These questions connect the reference to your actual hair rather than just its appearance in a photograph.
Bring three reference views, not one fringe photo
A front-facing image cannot communicate the entire shape. Build a small reference set with these views:
- Front: Shows fringe width, length, edge shape, parting, and visible forehead. Use it to agree on the front’s resting position.
- Side: Shows temple fullness, ear coverage, and the connection between crown and sides. Use it to decide how close or rounded the profile should be.
- Back: Shows crown layering, nape length, neckline softness, and retained weight. Use it to distinguish a compact back from a longer, looser finish.
Ideally, all three photos should show the same cut. If that is not possible, choose compatible references and explain which detail you want from each.
Photos remain visual direction. Styling products, heat tools, extensions, lighting, and different hair density can affect what you see. A stylist can help separate the cut’s structure from its photographed finish.
Two ways to style a mod cut
Method 1: Polished rounded finish
This method emphasizes the fringe and controlled outline.
- Gently blot damp hair rather than rubbing it vigorously.
- Apply a light heat protectant according to its directions.
- Use a dryer on a comfortable heat setting, moving the airflow from roots toward ends. Guide the front into its intended position with your fingers or a brush.
- Shape the sides and turn the ends slightly inward if you want a rounded edge. Avoid adding root lift everywhere if the sides already feel full.
- Finish with a small amount of soft-hold cream or another flexible styling product.
Fine hair may flatten under heavy cream. Start with less than you think you need, keeping it away from the roots unless the product is designed for root application.
Method 2: Tousled finish
This method follows natural movement rather than smoothing every section.
- Choose either a light mousse for airy hold or a lightweight styling cream for softer separation and definition. Apply a small amount to damp hair.
- Scrunch upward to encourage an existing wave pattern, or finger-style individual sections to create separation.
- Air-dry or diffuse on low airflow as appropriate for your texture.
- Once dry, loosen selected pieces with your fingertips rather than repeatedly brushing through them.
A sea salt spray may add grip, but salt-heavy products can leave dry, curly, or processed hair feeling rough. A light foam or flexible cream may feel more comfortable.
Choose products according to texture, condition, desired shine, and hold. A looser cut designed around natural movement may need only light reshaping rather than daily heat.
Maintenance and signs that the shape needs refreshing
Roughly 6 to 10 weeks is a reasonable starting range for reshaping, not a fixed schedule. Growth rate, fringe length, texture, and your preferred finish all affect timing.
Shorter maintenance intervals preserve a precise fringe, defined ear outline, and controlled neckline. Longer intervals allow the edges to soften and produce a more grown-out interpretation, with extra weight through the sides, crown, and nape. A fringe may need attention sooner than the rest of the cut.
Look for practical changes:
- The fringe obstructs your vision.
- The sides no longer hold the intended outline.
- Extra weight makes the crown sit flatter than you prefer.
- The nape feels heavier or extends farther than intended.
- The connection between the crown and sides starts to feel bulky.
Small fringe adjustments should account for dry movement and shrinkage. Cutting to the desired endpoint while the hair is wet or stretched can leave it shorter than expected once dry.
Common mod-cut mistakes to avoid
- Requesting only the name: “Mod cut” can mean a controlled rounded shape or a loose, layered version. Specify the finish.
- Removing too much side weight: This can replace the fuller silhouette with a top-heavy one.
- Accepting an automatic high or skin fade: Check whether your reference actually has close-clipped sides.
- Setting fringe length without checking natural movement: A wet or stretched front may rest quite differently when dry.
- Assuming more texturizing is always better: Thinning and razor techniques need to suit density, texture, and condition.
- Leaving the back unspecified: A fringe reference says little about the crown or nape.
- Choosing precision without allowing time for it: A smooth, exact outline may need more daily direction than a relaxed finish.
If you are still deciding between a mod-inspired shape and other options, compare them using the coverage and styling preferences you have identified.
For curly or coily textures in particular, Facefy’s Hairstyle Finder can help you explore alternatives to discuss with your stylist. Keep natural dry length, side fullness, and realistic styling effort central to the comparison; visual suggestions do not establish how your hair will behave.
Mod cut questions, answered
Is a mod cut the same as a mop top?
No, although they overlap. A mop top usually has a more uniform rounded fall, while a mod cut can include more varied layering, texture, and perimeter choices.
Can it work with curly or wavy hair?
Yes. The result follows the natural pattern and may look fuller or more irregular than a smooth reference. Assess the fringe dry and decide how much volume you want around the ears.
Can a mod cut leave the ears exposed?
Yes. Shorter interpretations can expose the ears while retaining enough fringe and side structure to suggest the intended shape. Ask for a deliberate ear outline rather than assuming exposure requires a fade.
Does it require daily styling?
Not always. Precise rounded versions generally need more direction. A softer version cut around natural movement may need only dampening and finger reshaping between washes.
What products work for a textured mod cut?
Light mousse, flexible cream, or a lightweight texture spray can help, depending on your hair. Start with a small amount and add only if needed. The goal is separation without weighing the hair down or making the fringe stiff.
Bring front, side, and back references to your appointment, and describe your preferred dry fringe length, ear coverage, side fullness, and nape finish.