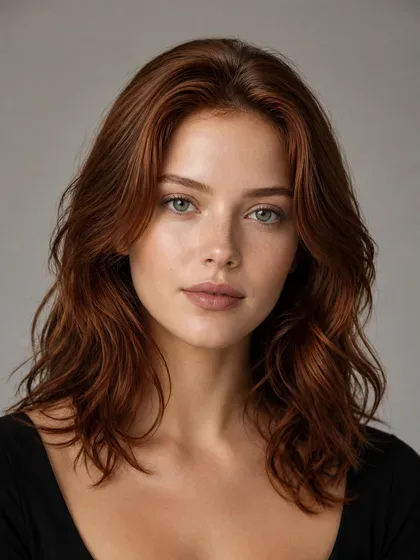
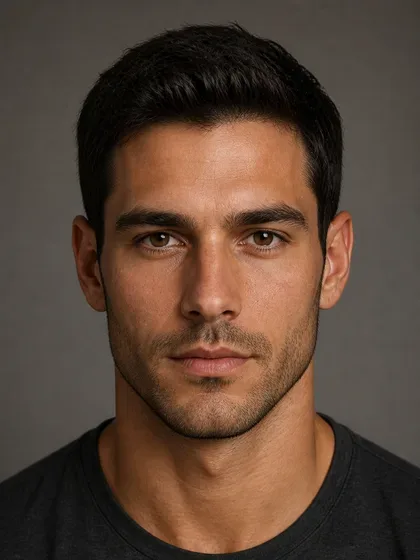
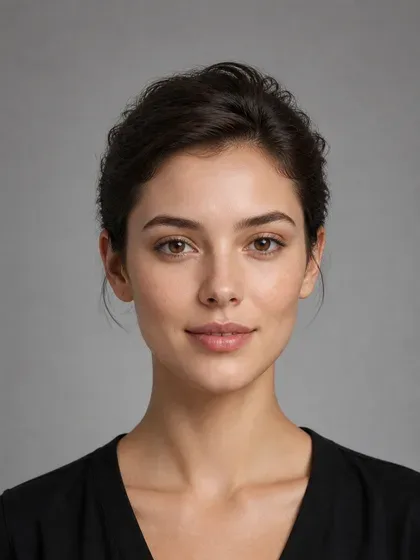
Round Face Shape Guide: Key Signs, Self-Check, and Style Tips
Identify a round face, compare similar shapes, avoid photo distortion, and choose complementary hairstyles, glasses, and grooming.
A round face usually has similar overall length and width, with the greatest fullness around the cheeks, a softly curved jawline, and a rounded chin. Look for these traits together. Cheek fullness or a rounded chin alone does not establish a round face shape.
Face-shape categories are approximate descriptions, and mixed features are common. A clear photo, a few facial proportions, and your preferred styling effect are more useful than a rigid label. No single measurement, selfie, or AI estimate should decide the answer by itself.
Key signs of a round face shape
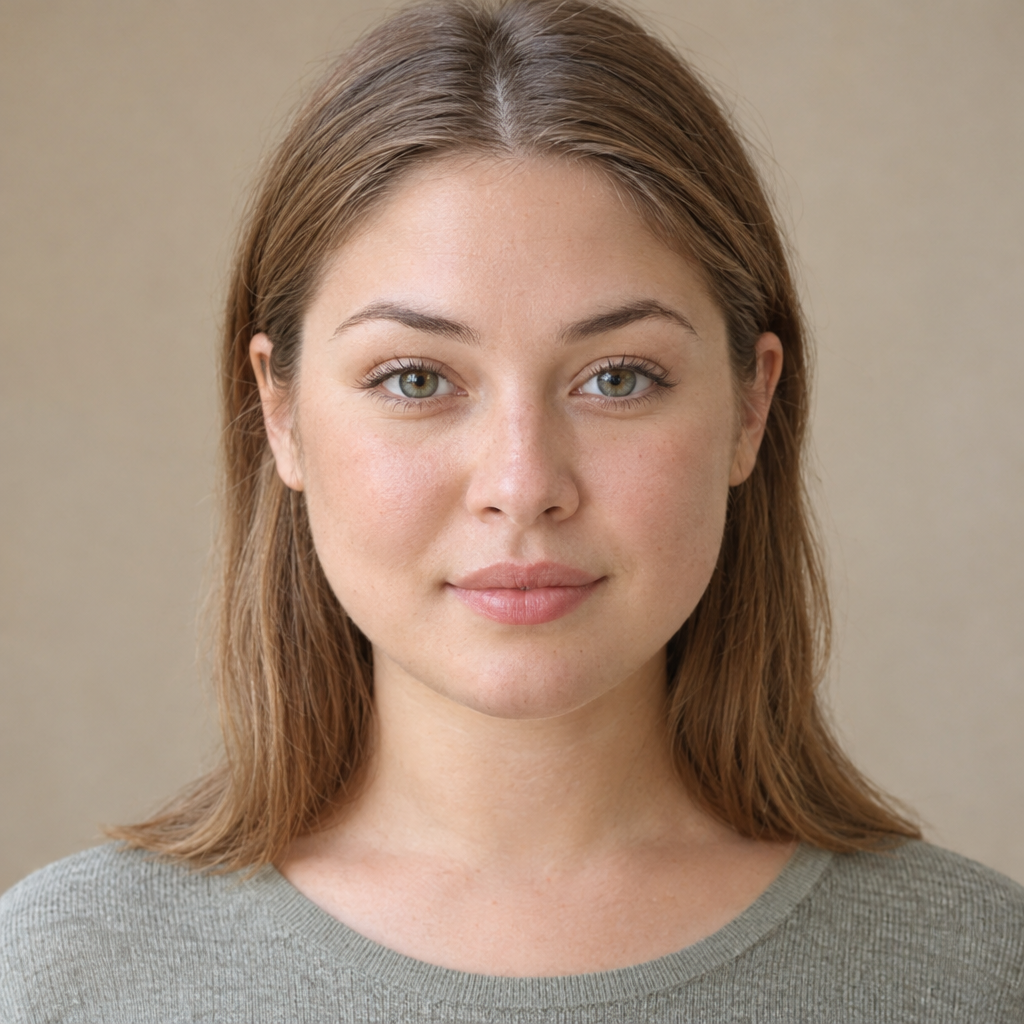
A round facial outline commonly combines four signs:
- Relatively similar length and width. The face does not appear strongly elongated, although it need not be exactly as wide as it is long.
- Prominence around the cheeks. The cheek area is often the widest or most visually noticeable part.
- A softly curved jawline. The sides flow toward the chin without strongly squared corners.
- A rounded chin. The lower outline tends to form a curve rather than a pronounced point.
The overall pattern matters more than any isolated trait. You can have visible cheekbones or a defined jaw and still have a broadly round outline.
Cheek fullness is particularly easy to misread. Smiling, temporary changes in fullness, hair framing the face, and close photography can all affect its appearance. Face shape is a practical visual description, not an indicator of attractiveness, health, age, or personality.
Round, oval, square, or heart: a four-feature comparison
Use this matrix to compare the whole outline. No single feature determines the category.
| Shape | Overall length relative to width | Widest region | Jaw contour | Chin shape |
|---|---|---|---|---|
| Round | Length and width appear relatively similar | Usually the cheeks | Softly curved | Rounded |
| Oval | Length is visibly greater than width | Often the cheekbones | Gently tapering | Softly rounded |
| Square | Length and width may appear relatively similar | Forehead, cheeks, and jaw can look fairly even | Straighter, with more angular corners | Often broad or relatively flat |
| Heart | Variable, with the upper-to-lower taper being more noticeable | Forehead or upper face | Narrows toward the chin | Narrow, sometimes pointed |
Round versus oval: Both can have curved jaws and rounded chins. The useful distinction is whether the face looks noticeably longer than wide and tapers more gradually below the cheekbones.
Round versus square: Both can look relatively compact. Compare the jaw contour and whether the width remains more consistent from the forehead through the jaw.
Round versus heart: Both may have prominent cheeks. A heart-shaped outline usually narrows more noticeably from the upper face toward the chin. A widow’s peak is not required.
A repeatable two-photo self-check
The goal is to see which features remain consistent when camera distance changes, not to find the most flattering image.
1. Take a clearer reference photo
Where practical, position the camera roughly 1.5 to 2 metres away at eye level. A timer or someone helping you can make this easier.
Use:
- A neutral expression, with your jaw relaxed.
- A level head facing straight ahead.
- Even front lighting, such as soft daylight.
- Hair moved away from the temples and jaw.
- A visible hairline and chin.
- Enough space around the head to show the whole outline.
Use minimal or moderate zoom if needed for framing rather than bringing the camera close. Avoid beauty filters and portrait effects that reshape features. Remove glasses briefly if comfortable. Facial hair may still obscure the underlying jaw.
2. Take a matched close photo
Take a second photo from a typical selfie distance while keeping the other conditions as consistent as possible. Use the same neutral expression, level head, lighting, hair placement, and unobstructed outline as in the distant reference photo. Where practical, use the same device and lens setting so that distance is the main variable being changed.
Compare the apparent prominence of the nose, cheeks, and central face. Close camera distance changes perspective because features nearer the lens can appear larger relative to those farther away. A wide-angle setting often encourages close shooting, but distance is the key variable. Zooming or cropping a close photo afterward does not undo that perspective.
An existing selfie can provide an additional reference, but differences in expression, camera height, lighting, or hair placement make it less useful for isolating the effect of distance.
3. Check four observations in order
Ask:
- Does the face look relatively compact or noticeably longer than wide?
- Is the widest area around the forehead, cheeks, or jaw?
- Does the jaw curve inward or show straighter sides and corners?
- Is the chin rounded, broad, or narrow?
Write down simple descriptions rather than assigning a category immediately.
4. Use another clear photo if the result is ambiguous
Compare a second well-lit, straight-on photo with the reference. A mirror can also help you notice whether hair or shadows are concealing the outline.
Head tilt, expression, glasses, facial hair, tight cropping, and uneven lighting can all change the apparent proportions. If small differences remain, accept a mixed description rather than repeatedly measuring them.
How to compare facial measurements without a rigid ratio
Measurements can support your observations, but there is no rigid length-to-width cutoff that reliably settles face shape.
Use the same straight-on photo for all four comparisons. An on-screen ruler is enough. Pixels or arbitrary units work because you are comparing proportions, not physical size.
- Face length: Measure from the centre of the visible hairline to the bottom of the chin.
- Cheekbone width: Measure horizontally across the broadest visible cheekbone area.
- Forehead width: Compare the broadest visible points across the forehead, excluding hair.
- Jaw width: Measure across the widest visible lower-jaw area, usually near the jaw corners.
These are approximate two-dimensional comparisons. Avoid using a rotated head or tilted camera, and do not trace around the curved surface of the face.
Look at the pattern across all four measurements. Relatively similar face length and cheekbone width, combined with a curved jaw and rounded chin, may support a round description. Comparable forehead, cheek, and jaw widths with angular corners may point more toward square.
Hairlines complicate face-length measurements. A high hairline increases the measured span, while a low one reduces it. An uneven or partly hidden hairline makes the starting point uncertain. In those cases, give more weight to the visible cheek-to-jaw outline rather than inventing a precise hairline position.
Small differences do not require repeated checking. Measurements are supporting clues, not a scorecard.
Mixed traits, edge cases, and AI estimates
Not every face fits neatly into one category. These combinations are useful descriptions in their own right:
- Round with a defined jaw: A visible jaw edge does not automatically mean square. Overall length, cheek prominence, and the curvature toward the chin may still suggest round.
- Round-oval: Curved contours and prominent cheeks appear alongside somewhat greater facial length.
- Round-square: Similar length and width combine with fuller cheeks and a more structured jaw.
- High or low hairline: The upper boundary changes the apparent length without necessarily changing the lower outline.
- Textured hair with shrinkage: Curls and coils can sit closer to the cheeks or temples when dry, changing the hairstyle’s outline around the face.
- Partly obscured outline: Bangs hide the forehead, facial hair changes the visible jaw boundary, and glasses introduce strong lines across the upper face.
A practical confidence framework is:
- Clearer match: Most of the four traits consistently resemble one category across two clear photos.
- Mixed match: Several traits resemble one category, while others consistently resemble another.
- Uncertain view: Hair coverage, pose, lighting, or camera distance prevents a useful comparison.
If you want another reference, Facefy’s Face Shape Detector offers a photo-based estimate. Treat it as an AI-generated visual assessment, not an objective or clinical classification.
To interpret an AI result:
- Compare the estimate with at least two clear, straight-on photos.
- Check each observation against the four-feature matrix.
- Notice whether disagreement concerns length, widest region, jaw, or chin.
- Consider mixed traits, photo variability, or an estimation error rather than selecting whichever label seems most flattering.
You do not need a definitive category to choose a hairstyle or glasses.
Three questions to answer before choosing a hairstyle
Face shape can help describe a visual goal. Hair behavior determines whether the cut will deliver that goal in everyday life.
1. What is your natural texture and density?
Consider whether your hair is straight, wavy, curly, or coily, and whether it naturally lies close to the head or expands outward.
Also distinguish strand thickness from density. Fine strands can occur in dense hair, while coarse strands can occur in lower-density hair. Both affect how much weight a cut needs and how much layering it can support.
Curl shrinkage, growth patterns, and natural volume influence where a finished cut appears to end. Discuss length on dry hair if you usually wear your natural texture.
2. How much daily styling is acceptable?
Decide whether you want:
- An air-dried shape with minimal adjustment.
- A brief refresh with water or styling product.
- Regular blow-drying, heat styling, or deliberate shaping.
Low daily effort does not always mean low salon upkeep. A precise cropped shape may be quick to style but need frequent reshaping.
3. Which feature do you want to emphasize?
Choose a direction:
- Add vertical emphasis.
- Highlight cheek fullness.
- Define the jaw area.
- Preserve balanced softness.
None is inherently better. A useful salon request might be: “I wear my waves air-dried, want to keep density at the ends, and would like the outline to finish below my jaw.”
Hairstyles organized by the effect you want
Short, medium, and long cuts can all work with a round face. The important variables are crown volume, side volume, part placement, fringe density, and the cut’s endpoint.
| Desired effect | Main emphasis | Main tradeoff |
|---|---|---|
| Vertical emphasis | Height and downward lines | Height may need styling |
| Cheek emphasis | Texture beside the mid-face | More visible side width |
| Jaw definition | A deliberate lower edge | Endpoint needs careful placement |
| Balanced softness | Gently distributed volume | Shape follows natural texture |
Add vertical emphasis
- Crown volume: Controlled height draws attention upward.
- Side volume: Keep it closer or position fullness below the cheeks.
- Part placement: Off-centre or diagonal parts can introduce directional lines.
- Fringe density: Separated or side-directed fringe leaves more forehead visible.
- Cut endpoint: Length below the jaw can continue the downward line.
A textured pixie can suit straight or wavy hair with enough density to support crown shape. It emphasizes height, but naturally flat or lower-density hair may need a brief blow-dry or a lightweight styling product. Dense hair may need internal weight removal so the sides do not expand more than intended.
Long face-framing layers can give medium-to-dense wavy hair movement while preserving length. For a downward visual line, the front framing can begin around the lower cheek or jaw and continue into lengths that fall below the shoulders when dry. The exact starting point should be chosen on dry hair, especially with waves or curls, so the framing does not spring up beside the widest part of the cheeks unintentionally.
Daily effort may be modest when the natural wave supplies the movement. A smooth, lifted finish requires more styling. On lower-density hair, use fewer layers and keep the perimeter fuller so the ends do not look sparse.
Highlight cheek fullness
- Crown volume: Keep it modest if you do not want extra height.
- Side volume: Place soft fullness beside the cheeks.
- Part placement: Centre or side parts can work, depending on growth direction.
- Fringe density: An airy fringe offers softness, while a fuller fringe creates stronger framing.
- Cut endpoint: Cheek- or jaw-adjacent shapes draw attention to the mid-face.
Cropped curls can intentionally frame the cheeks on curly or coily hair. With medium or high density, a rounded shape may air-dry with little manipulation, although refreshing and salon reshaping remain part of the routine. Lower-density curls may benefit from a more compact perimeter and limited layering to preserve visible fullness. Choose the endpoint with dry shrinkage in mind.
There is no need to avoid width if cheek emphasis is the effect you enjoy.
Define the jaw area
- Crown volume: Keep it secondary to the lower outline.
- Side volume: Control fullness near the chosen endpoint.
- Part placement: Use a part that lets the front fall predictably.
- Fringe density: Choose density that complements rather than overwhelms the lower edge.
- Cut endpoint: Position a deliberate perimeter near or below the jaw.
A jaw-length bob on straight, fine-to-medium strands can create a visible boundary near the jaw, especially when density is sufficient to maintain the edge. It may need little daily styling if it falls naturally, while bends or cowlicks can require smoothing. A blunt cut looks more graphic, while softened ends create a less sharply defined boundary. Dense hair may need carefully placed internal weight removal without weakening the perimeter.
A lob, meaning a long bob, places the lower boundary below the jaw and usually above or around the shoulders. On dense, wavy hair, selective weight removal may help the outline sit as intended. Lower-density hair often benefits from a simpler perimeter with fewer layers. Air-drying preserves natural movement, while a sleek finish takes more daily effort. Check whether the chosen dry length catches on the shoulders and flips outward.
Preserve balanced softness
- Crown volume: Retain natural lift without concentrating all the volume there.
- Side volume: Distribute it gently around the head.
- Part placement: Follow natural growth rather than forcing a fixed part.
- Fringe density: Keep the front proportionate to the rest of the cut.
- Cut endpoint: Choose a length that settles naturally when dry.
Shoulder-length layers can suit medium-density waves when the goal is relaxed movement. Conservative layering supports an air-dried routine and helps preserve softness through the ends. Dense hair may need more internal shaping, while lower-density hair usually benefits from fewer layers. A polished bend at the ends requires more styling than an air-dried finish.
Long shaped curls can preserve softness on curly or coily hair by distributing fullness through the length. On higher-density hair, internal shaping can reduce concentrated bulk while retaining a full outer outline. On lower-density hair, fewer layers and a stronger perimeter can prevent the ends from appearing thin. The dry cut should account for uneven shrinkage and differences between curl sections. Daily effort depends on whether you prefer an air-dried shape, a quick refresh, or more deliberate curl definition.
Chin-length cuts, centre parts, and short hair are not automatically unsuitable. Their effect comes from the complete shape, not the name or length alone.
Choosing bangs by length, separation, density, and shape
Bangs change how much forehead is visible and where a strong visual boundary appears.
| Fringe choice | Likely visual effect | Texture and density considerations | Daily work |
|---|---|---|---|
| Longer, side-directed | Diagonal framing | Works best when there is enough front density to hold the sweep; waves may add lift | May need directional drying, especially with a cowlick |
| Airy, separated | More forehead remains visible | Uses less hair and can suit lower density; fine sections may clump | Usually light styling, but sections may need separating |
| Dense, straight-across | Strong horizontal boundary | Requires enough density for an even line; curls and waves change the resting length | Often needs consistent drying or reshaping |
| Curved or textured | Softer, varied framing | Natural waves, curls, and coils create movement; density controls how full the outline appears | Can air-dry with compatible texture, but may require refreshing or definition |
Longer fringe can create diagonal lines when swept aside or vertical framing when separated. On straight or slightly wavy hair, it may need only brief directional drying. Strong cowlicks, curls, or lower density can make the sweep less predictable, so the resting direction should be checked before cutting.
An airy fringe leaves more forehead visible and uses less hair from the rest of the cut. It can work well for fine or lower-density hair, but light sections may separate unevenly or clump with oil and humidity. Daily work is usually modest if the fringe follows its natural fall.
Dense, full fringe creates a stronger horizontal boundary and can make the visible face appear shorter. It requires sufficient front density to maintain an even edge. Straight hair may need regular smoothing, while wavy, curly, or coily textures require the dry resting length to be considered carefully.
A curved or textured fringe can blend into the sides and create a softer boundary. Natural waves and curls may reduce the need for heat styling, but individual sections can shrink to different lengths and require refreshing. On high-density hair, removing too much weight can cause expansion. On lower-density hair, a lighter, less continuous fringe may preserve fullness elsewhere.
Before choosing, connect the fringe to your visual goal, texture, density, and styling tolerance:
- Cowlicks: A forced direction may require daily drying.
- Curl shrinkage: Choose the resting length when dry, not only when stretched.
- Humidity: Expect movement if the fringe is styled differently from its natural texture.
- Lower density: A heavy fringe can use hair you may prefer to retain elsewhere.
- Minimal styling preference: Favor a direction your front hair naturally follows.
Glasses, facial hair, and makeup choices
These choices can shift visual emphasis without changing or correcting your face shape.
Glasses: assess fit before shape
Angular frames are one option, not a requirement. Compare:
- Overall width: The frame should sit securely without squeezing or sliding.
- Lens scale: Smaller lenses leave more face visible, while larger lenses make a stronger visual feature.
- Brow-line relationship: Notice whether the upper rim follows, sits below, or crosses your brows.
- Bridge fit: The bridge should support the frame comfortably.
- Cheek clearance: Smile and check that the lower rims do not press into your cheeks.
- Visual contrast: Color and rim thickness can matter as much as geometry.
Angular frames introduce straighter lines. Soft rectangles offer a gentler contrast. Round frames echo curved contours. Translucent frames create a lighter visual boundary, while bold rims make the glasses a focal point.
Facial hair: decide where to keep volume
If you wear facial hair, fullness at the sides can add visible width, while more length at the chin can add vertical emphasis. Neither is mandatory for a round face.
A rounded lower edge gives a softer outline, while a more structured beard edge can emphasize angles. Neckline placement also changes the lower silhouette, so discuss it with a barber rather than following a universal landmark. Growth density may limit which shapes are practical.
Makeup: use placement creatively
Blush placed centrally over the apples of the cheeks can emphasize cheek fullness. Higher, outward placement draws attention toward the upper and outer cheeks. Soft diffusion creates a less defined boundary.
Contour can introduce shadow, while highlight draws light to selected areas. Keep the effect subtle if you want it to read naturally in daylight, since lighting changes how placement appears. Makeup is optional, not a necessary response to any face shape.
Common reasons a round face is misidentified
If different photos seem to show different shapes, check the image conditions before changing your description.
- Close selfies: Perspective can exaggerate the central face and alter the apparent prominence of the cheeks.
- Smiling: Raised cheeks and changes around the mouth can make the lower outline look narrower.
- Head tilt or rotation: These change the visible length, width, and symmetry of the outline.
- Uneven lighting: Strong shadows can create apparent angles or conceal part of the jaw.
- Tight cropping: Removing the hairline or chin takes away useful context.
- Hair coverage: Hair over the temples or jaw can hide the widest area.
- Glasses or facial hair: Their edges can be mistaken for the underlying facial boundary.
- Changes in fullness: These may affect visible contours without changing the broader structural pattern.
A face-shape guide cannot explain sudden or persistent facial changes. Seek appropriate medical advice for new swelling or other concerning changes rather than interpreting them as a different face category.
Questions people ask about round faces
How do I know if my face is round or oval?
Compare overall length, cheek prominence, jaw taper, and chin shape across more than one clear photo. Round faces tend to look more compact, while oval faces are more noticeably elongated. If the contours are rounded but the length falls between the two descriptions, round-oval is a useful working description.
Are short haircuts suitable for round faces?
Yes. Start by deciding where you want the cut to carry volume. Crown height adds vertical emphasis, fullness beside the cheeks highlights the mid-face, and a deliberate edge near the jaw emphasizes the lower outline. Natural texture, density, and styling tolerance should determine how that volume is created and maintained.
Does gaining or losing weight change face shape?
Changes in facial fullness can alter visible contours, while broader structural proportions may remain similar. You may notice that the cheeks or jaw look more or less prominent without the overall outline fitting a completely different category. A face-shape label is not a reason to pursue weight change.