How to Preview Hair Color Before Dyeing: 4 Reliable Methods
Learn how to preview hair color with photo tools, swatches, temporary color, and strand tests, plus what each method can and cannot predict.
To preview hair color before dyeing, use a digital simulation, wig, or hair swatch to decide whether you like the shade visually. Temporary color can offer a closer approximation on your hair, while a hidden strand test helps show how a particular dye formula develops on your current base.
These methods answer different questions. A convincing photo preview cannot predict lightening, gray coverage, damage, or how previous dye will affect the result. The most useful approach combines an appearance preview with a real-hair strand test before full application.
First, separate appearance from achievability
Start with two explicit questions:
“Do I like how this color looks?”
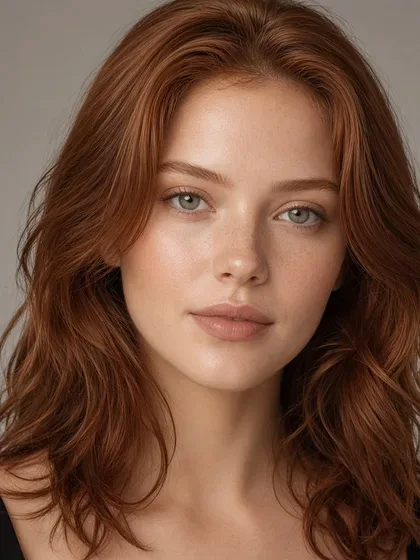
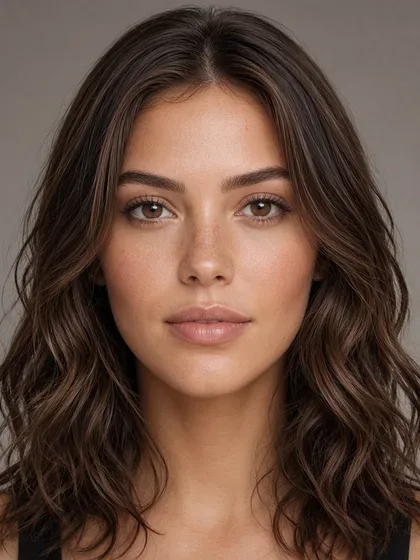
Use digital previews, wigs, and physical swatches to compare color families, lightness, warmth, and contrast around your face. Temporary color may also help, provided the product can create a visible approximation on your starting shade.
“Can this formula produce that result on my current hair?”
Use a hidden strand test with the intended product, following its instructions. This provides information about color development, evenness, and how the treated hair feels afterward. For complex changes, a colorist should assess the starting hair and choose the approach.
Visual preference is personal, not a pass-or-fail assessment. The same copper may look different beside a black sweater, a cream top, or your usual lipstick. Eyebrows, lighting, and styling also affect the overall impression. Skin tone can guide which shades you compare, but it does not dictate which colors you can wear. If you’re unsure which hair color direction to explore, Facefy’s color analysis can help you discover a personalized color palette based on your natural features, giving you additional inspiration when comparing warm, cool, and neutral shades.
Hair color preview methods compared
| Method | What it predicts | Reversibility | Effort | Main limitation |
|---|---|---|---|---|
| Digital simulation | Overall appearance, color family, intensity, and contrast | High. Nothing changes on your hair. | Low | Screens and automatic hair masking vary. It cannot assess formula behavior, hair condition, or chemical achievability. |
| Wig or physical swatch | How a physical color looks beside your face in different lighting | High | Low to medium | The fiber, texture, shine, and movement may differ from your natural hair. It does not predict how dye will behave. |
| Temporary color | An approximate color family or placement on your own hair | Variable. Some pigments can linger on porous or lightened hair. | Medium | Temporary pigments behave differently from permanent dye, and “temporary” does not guarantee immediate removal. |
| Hidden strand test | Formula development, tone, evenness, and the treated hair’s response | Low on the tested section because the chemical change may be permanent | Medium | One section cannot represent every area of the head or guarantee an identical full-head result. |
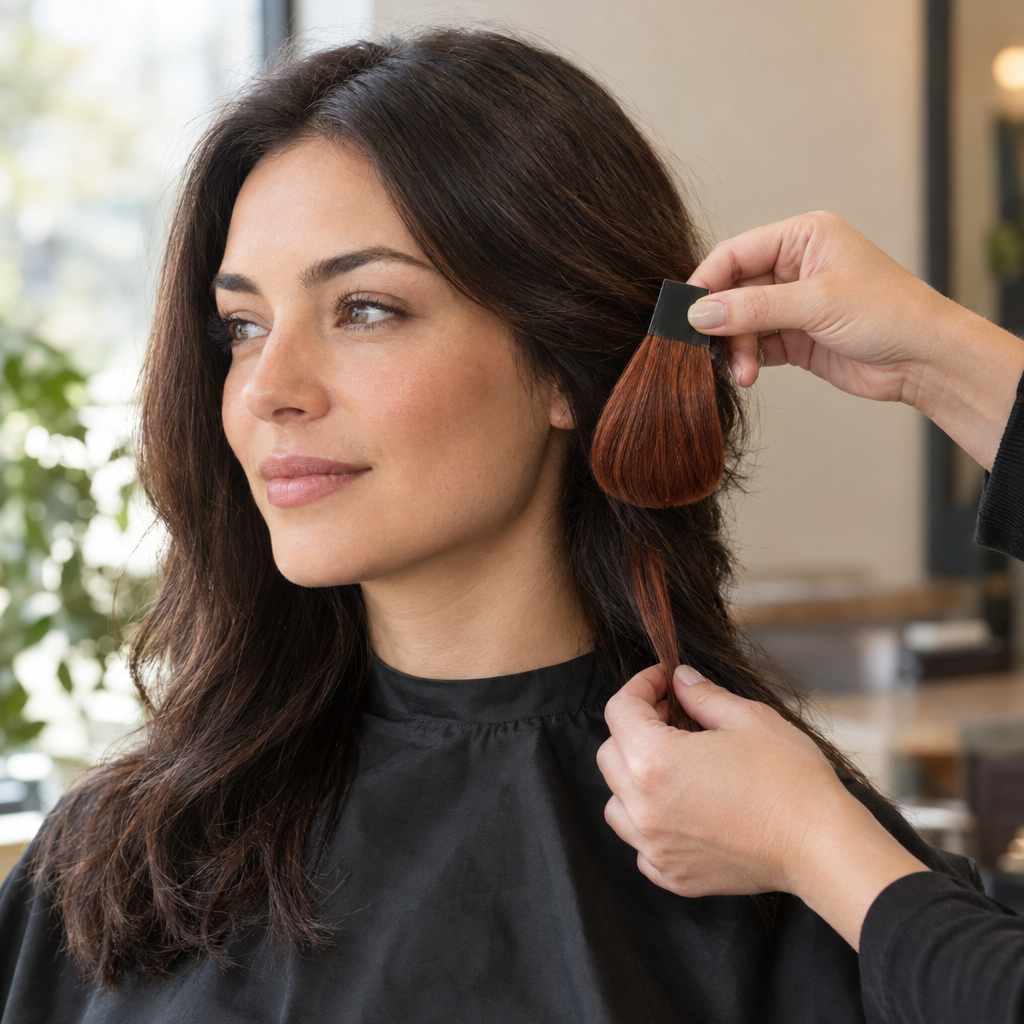
For a swatch comparison, hold the sample beside your temple and lengths rather than examining it against the salon’s display board alone. A small swatch helps you judge tone, but a wig better approximates the visual impact of a whole head of color. Neither will reproduce your hair’s exact texture, shine, or movement.
How to take a useful photo for a virtual color preview
A consistent starting photo makes comparisons easier. Use this checklist:
- Stand in indirect daylight. Face a window without direct sunlight falling across your hair. Avoid mixing strong window light with warm overhead bulbs.
- Keep exposure neutral. Your face and hair should not look unusually bright, dark, orange, or blue. Make sure highlights still show detail and dark lengths are not lost in shadow.
- Position the camera near eye level. Face it straight on rather than taking a steep overhead selfie.
- Show the hairline, roots, sides, and lengths. Move your hair forward if necessary so the visible length is included.
- Use a contrasting, plain background. Dark hair against a dark wall makes the edges harder to distinguish.
- Turn off beauty filters, color filters, portrait blur, and retouching. These can alter both your coloring and the boundary around your hair.
- Wear a neutral top. Gray, white, or another subdued shade reduces distracting color reflections and competing contrast.
Keep screen brightness consistent and switch off warm-display or night modes while comparing options. Automatic hair masking, which separates hair from the rest of the photo, may miss curls, flyaways, roots, shadows, or strands overlapping clothing.
Revisit your preferred preview under ordinary indoor light as well. If possible, compare a swatch or wig in both daylight and indoor lighting. Viewing an image indoors helps you reassess your preference, but only a physical sample shows how that material responds to a different light source.
Compare nearby shades, not just dramatically different colors
Comparing black with platinum can show whether you enjoy a dramatic contrast change. It does less to help you choose between two wearable versions of copper or brown.
Use a controlled comparison instead:
- Depth: Compare a lighter and deeper version of the same family, such as light copper brown and medium copper brown.
- Temperature: Compare warm, neutral, and cool versions at a similar depth. For brown, this might mean golden brown, neutral brown, and ash brown.
- Saturation: Compare a bright copper with a muted copper-brown. Saturation describes how vivid or subdued the color looks, not simply how light it is.
- Placement: Compare all-over color with lighter pieces around the face or through the lengths, if those are options you are considering.
Change one variable at a time where possible. If you change depth, warmth, and placement together, it becomes harder to identify what you actually prefer.
Start with minimal makeup, then revisit your shortlist alongside the makeup and clothing colors you normally wear. You can also use Facefy’s Hair Style Try-On to explore how different hairstyles and face-framing layers might influence the overall appearance of your preferred hair color.
A useful shortlist: Keep two nearby shades and write one sentence about each. For example: “The muted copper feels easier with my everyday clothes; the brighter copper gives me the stronger statement I want.”
Your starting color determines what is realistically achievable
Many professional color systems describe depth on a scale running roughly from level 1 for very dark hair to level 10 for very light blonde. Lower numbers generally indicate darker hair. Numbering, labels, and the exact shades assigned to levels vary between brands.
Depth and tone are separate. Two shades can be equally dark while one looks golden and the other looks ashy.
Consider two different goals:
- Untreated level 6 to level 5: This is approximately one level darker. Darkening is generally a pigment-depositing goal rather than a lightening goal. The process focuses on adding depth and selecting the desired tone. Previously lightened or highly porous hair may need missing underlying pigment restored so the darker result does not look hollow, muddy, or uneven.
- Level 3 to level 8: This is several levels lighter. Depending on the starting hair and its history, the process may involve lightening, managing exposed underlying warmth, toning, or working across more than one appointment. A digital preview cannot determine whether the target is safe or achievable in one session.
Both changes may look effortless in a digital preview. They are not equivalent chemical decisions.
Dye does not reliably lighten existing artificial pigment in the same way an appropriate permanent formula may lighten untreated hair. Applying a lighter box shade over dark dyed lengths therefore may not produce the lighter result shown on the package.
A package image is an illustration, not a guarantee. Starting depth, underlying pigment, previous treatments, formula, processing, and hair condition all influence the result. A preview also cannot determine whether bleach or color correction will be necessary.
Why a strand test tells you more about the formula
A hidden strand test applies the intended product to a small, discreet section before treating the whole head. Unlike a screen preview, it shows the product interacting with your actual hair.
Follow the manufacturer’s directions for preparation, mixing, timing, rinsing, and handling. Do not extend processing time to chase the appearance of a reference image.
For a useful assessment:
- Choose a representative section. A concealed lower-back section may work, but it should include the color history relevant to your goal.
- Include roots and lengths where practical. Untreated roots and previously dyed ends may respond differently.
- Inspect the finished strand once dry. Wet hair looks darker and can obscure the final tone.
- Check depth, tone, and evenness. Look for differences between the root area, mid-lengths, and ends.
- Notice the hair’s response. Unexpected roughness, tangling, or breakage is a reason to pause and seek professional advice rather than proceed.
If your hair has several distinct bands of color, one strand may not represent all of them. A colorist may need to assess separate areas and use different approaches.
A strand test is not an allergy alert test. The strand test evaluates color development and hair response. An allergy alert test is a separate manufacturer-directed safety step. Follow the instructions and timing for both. Neither replaces the other, and a successful result does not eliminate all risk.
A strand test also cannot guarantee uniform gray coverage or an identical full-head result. Application consistency and differences across the head still matter.
Conditions that make previews less reliable
Extra caution: these starting conditions can change the outcome
- Permanent color on the lengths: Existing artificial pigment can resist lightening or expose unexpected underlying tones.
- Henna or uncertain dye history: Henna can make later lightening unpredictable. Products containing metallic salts can create additional compatibility concerns. Tell your colorist exactly what you used, if known.
- Visible gray: Gray and pigmented strands may take or display color differently. A uniform digital overlay cannot predict coverage.
- Darker roots with lighter ends: One formula may not produce the same depth and tone across both areas.
- Highly porous or damaged sections: These may absorb pigment unevenly, appear darker than expected, fade differently, or become more compromised with further processing.
- Uneven bands or direct-dye staining: Previous color boundaries and lingering vivid pigments may remain visible or influence the new shade.
- Prior bleach: Lightened sections can respond differently from untreated growth, even when their current colors look similar.
These are limits on prediction, not conditions a photograph can reliably assess. Bring a history of coloring, bleaching, and other chemical treatments to a consultation, including approximate dates and product names where available.
A three-step process for choosing your final color goal
1. Compare two nearby intensities digitally
Use the same unfiltered photo and consistent screen settings. Choose two versions within one family, such as a softer copper and a deeper copper.
Ask:
- Which depth do I prefer beside my eyebrows and natural roots?
- Do I want a muted finish or a more vivid statement?
- Am I choosing an all-over shade or lighter and darker pieces?
- Would I still like this color with my usual styling and minimal makeup?
2. Inspect a physical or temporary approximation
Look at a salon swatch, suitable wig, or temporary color where practical. Compare it in indirect daylight and ordinary indoor light.
For temporary products, check suitability for your starting shade and follow the product’s instructions. A depositing product generally cannot make dark hair look like pale blonde. Surface-color sprays may show lighter or brighter colors, but their coating and texture will not necessarily resemble dyed hair.
If staining would be a problem, start with a swatch or wig rather than assuming a wash-out product will disappear completely.
3. Follow safety directions and complete a hidden strand test
Before full application, follow the intended product’s manufacturer-directed safety steps and strand-test instructions. For a salon service, discuss these steps with the colorist.
Write down your goal in concrete terms:
- Depth: Keep the current depth, go slightly darker, or explore lightening.
- Tone: Golden, neutral, ashy, copper, red, or another direction.
- Dimension: One overall shade or a mix of lighter and darker pieces.
- Roots: A noticeable contrast, close match, or softer transition.
- Upkeep: How often you are willing to refresh roots and tone.
A useful salon request might be: “I want a muted copper-brown close to my current depth, with subtle lighter pieces and a soft root transition. I would rather keep it deeper than need extensive lightening.”
Save reference images with realistic lighting and, where possible, starting hair similar to yours. Treat them as communication aids, not promises.
When to consult a professional colorist
Pause home coloring and seek a consultation when your plan involves:
- Major lightening, particularly on dark, previously colored, or fragile hair.
- Removing dark artificial pigment, rather than simply adding a new tone.
- Correcting uneven bands or a result you already dislike.
- An uncertain history of henna or metallic-salt color.
- Significant breakage, severe dryness, or concerns about existing damage.
- Complex root-to-length correction, with noticeably different starting shades.
- Difficult gray coverage, especially when roots and lengths need different treatment.
Bring your shortlist, color history, and upkeep preferences. Those details are more useful than another highly polished reference photo.
Scalp irritation or a suspected dye reaction is not something a photo tool can assess. Do not continue applying color to an irritated scalp. Follow the product’s safety guidance and seek appropriate medical advice for a suspected reaction. Breathing difficulty or rapid facial swelling requires urgent medical attention.
Hair color preview questions
What is the most accurate way to preview hair color?
It depends on the question. Digital previews help you compare the overall appearance of different shades. Wigs and swatches show physical color in real lighting. A hidden strand test is more informative about how a particular formula will develop on your hair, although it still cannot guarantee the full-head result.
Can a preview show whether bleach is needed?
No. It can illustrate a lighter target, but it cannot determine the chemical process needed to reach it. Your natural depth, existing artificial pigment, treatment history, and hair condition all affect that decision.
Can temporary color preview permanent dye?
It can approximate a color family or placement, but not necessarily the final finish. Temporary pigments may sit differently on the hair, give different coverage, or stain lightened sections. A successful temporary look does not establish that a permanent formula will produce the same shade.
Why does hair color look different indoors and outdoors?
Light sources differ in brightness and color balance. Warm indoor bulbs can make some shades look more golden or coppery, while daylight may reveal different tonal details. Clothing, surrounding surfaces, camera processing, and screen settings also affect what you see.
Will boxed dye match the package?
Not necessarily. The same product can look different on untreated hair, previously dyed lengths, porous ends, and gray strands. Use the package’s starting-color guidance, follow its instructions, and assess a hidden strand before full application. The most useful target is a shade you like that is also achievable on your current hair.
To compare color families and nearby intensities before committing, upload a clear, unfiltered photo to Facefy’s Hair Color Try-On. Treat the result as a visual estimate rather than a prediction of the final dye outcome.